wallpaper school
Wallpapering a border
How to do it
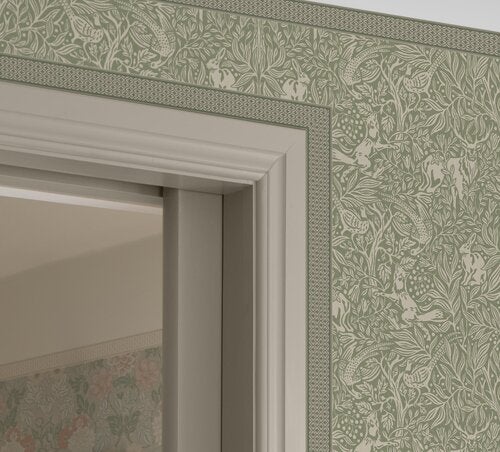
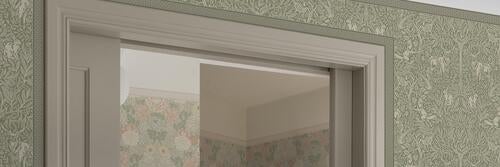
Wallpapering a border around trim
- Apply the adhesive: Start by applying glue to the back of the border or on the wall where you want the border to be placed.
- Attach the border in a corner: Begin by attaching the border in a corner, with a slight overlap on the next wall. Press the border firmly using a wallpaper tool or brush.
- Pattern matching: Place the next piece of the border so it fits precisely into the corner, ensuring that the patterns align.
- Cut the border at corners: For a neat finish, cut the border at a 45-degree angle to create a frame. Mark the cutting angle on the front side and cut with a sharp knife.
Wallpapering a border on a divided wall
- Decide the height for the border: Find a line in the room where you want the border to be placed. It could align with a windowsill, a piece of furniture, or another reference point.
- Measure and mark: Measure the height and make pencil marks where the border will be placed.
- Wallpaper the upper part of the wall: Start by hanging the upper wallpaper, applying adhesive down to the pencil line.
- Wallpaper the lower part: Once the upper wallpaper is in place, apply adhesive below the pencil line and hang the lower wallpaper. For best results, stagger the seams by half a panel width.
- Place the border edge to edge: After both parts of the wall are wallpapered, place the border along the seam between the two wallpapers, edge to edge. If there is a small gap, you can easily fill it with putty.
Common questions about wallpapering with borders
- What adhesive should I use for wallpaper borders? Use an adhesive specifically designed for wallpaper borders. Feel free to ask at your paint or wallpaper store if you're unsure.
- How can I avoid bubbles when wallpapering a border? Make sure the border is properly glued and use a wallpaper tool or brush to press out any air bubbles when applying the border.


